Windows 10/11 comes with a preinstalled Windows Mail app, providing an easy-to-use interface for receiving and sending emails from various accounts, including Outlook.com (Outlook.com, Hotmail, live.com, and MSN), Exchange (Exchange and Office 365), Google (Gmail), Yahoo Mail, iCloud, and other POP & IMAP accounts. The Windows 10/11 Mail app also offers simple steps for configuring your Gmail account. If you want to receive your Gmail account emails (e.g., yourname@gmail.com) in the Windows 10 Mail app, you can directly synchronize your Gmail account and get emails into your Windows 10 Mail Inbox.
Windows 10/11 Mail Configuration for Gmail account
To set up the Windows 10/11 Mail app, follow the steps below:
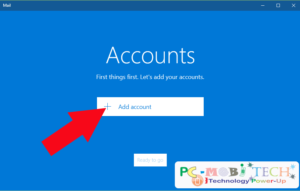
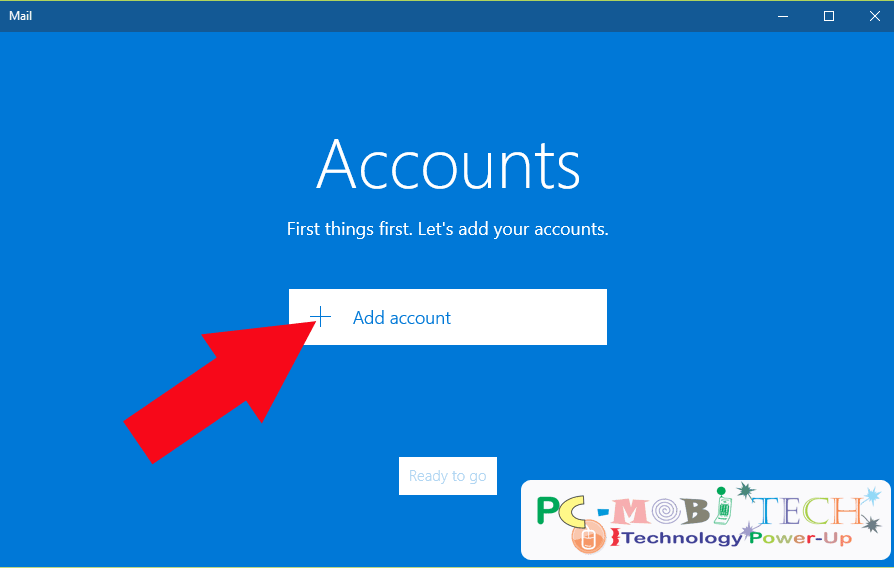
- Launch the Windows 10/11 Mail app and click on the “+Add account” button
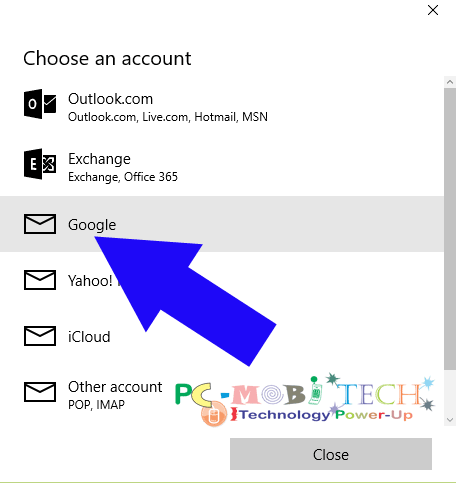
- In the next “Choose an account” box that appears, select the “Google” option from the list.
- The Google account login page will appear. Enter your Gmail ID and click on the “Next” button.
- On the next screen, enter your Gmail account password and click on the “Sign in” button.
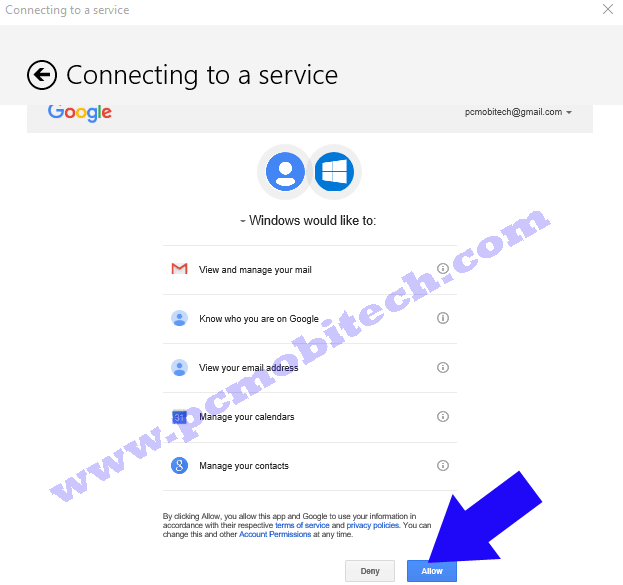
- If you have enabled two-step authentication, you will receive a one-time password on your registered mobile number. Authorize the one-time password. And If you have not enabled two-step security, a “Window would like to:” dialog box will appear. Click on the “Allow” button to give permission to receive and send messages directly with the Windows 10 Mail app.
- After allowing access, you will need to enter your name (e.g., Pramod Kumar) and click on the “Sign In” button.
- You will now see the “All done! Your account was set up successfully” dialog box. Click on the “Done” button to continue.
Your Gmail ID is now configured successfully with the Windows 10/11 Mail app. If you want to add more email accounts, you can do so by clicking on the “+Add account” button. Otherwise, click on the “Ready to go” button to continue to the Windows 10 Mail Inbox.
Also See:
- How to change default downloads folder location in Windows 10
- How to configure domain email account with Windows 10 mail app.
When you purchase through links on our site, we may earn an affiliate commission. Read our Affiliate Policy.

